anatomy of a sandblasted sign
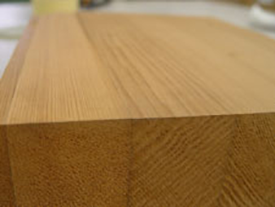
The Blank
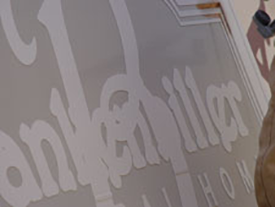
All sandblasted signs at Graber Letterin' Sign Company start out the same way, as a piece of either genuine cedar or High Density Urethane (HDU). The example on this page is a sandblasted cedar sign.
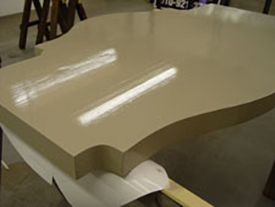
Primed & Painted
To begin the actual process, if the sign is to be ornamental in shape, the design is cut out before any sandblasting takes place. In addition, the primary color of paint is applied to the blank redwood before blasting.
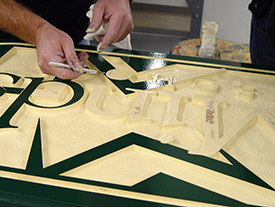
Stencil Applied
In the next step, we apply a sandblast mask to the sign with the areas to be blasted out exposed. The sandblast mask is a special rubber mask made to withstand the blasting process. Great care is taken to make sure that all the edges are pressed down securely.
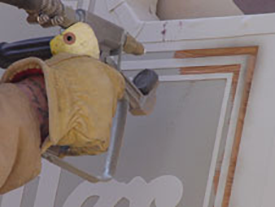
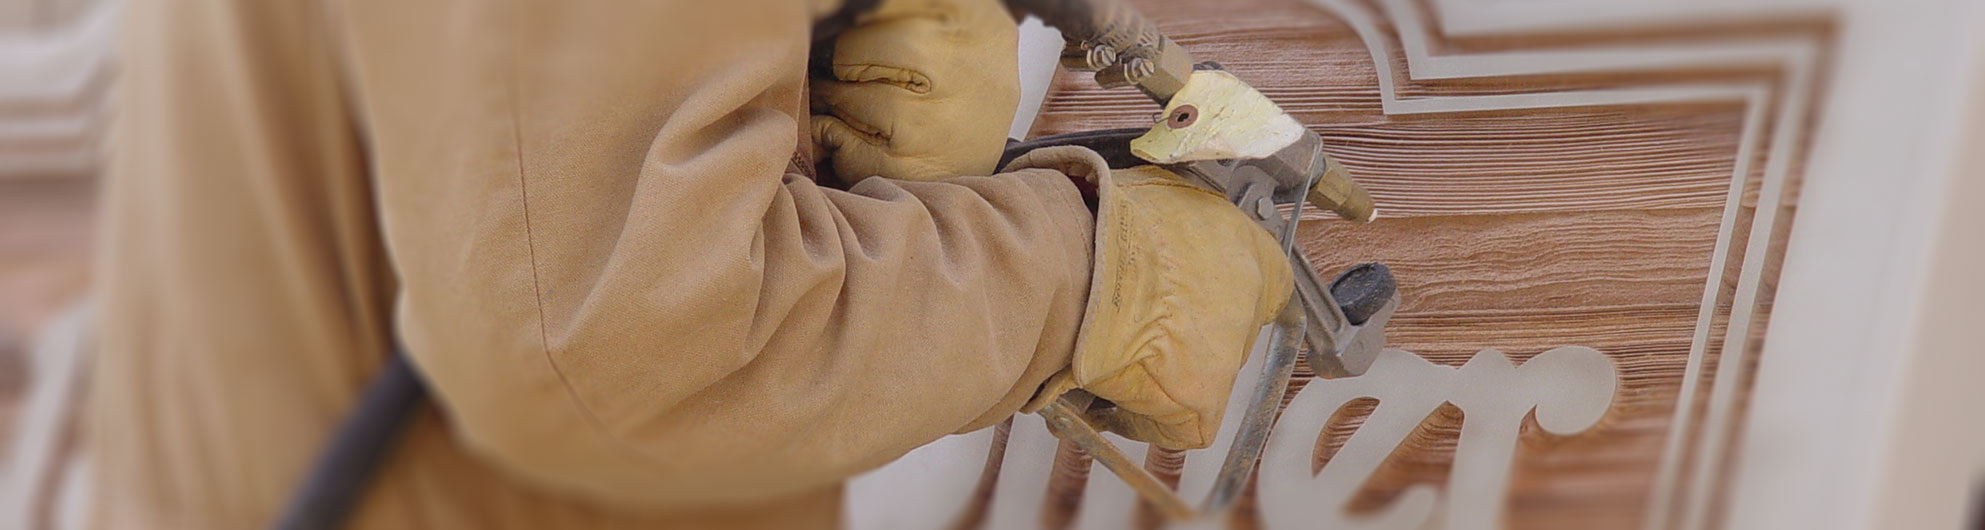
Blasting Begins
Once the blasting begins we can see the natural grain taking on character in the blasted areas. We use care in our blasting process and determine the depth of the blasted area based on the cedar grain and the three-dimensional look we are striving for. The blasting process is tedious and can take some time to complete.
Depth & Detail Defined
After several hours of blasting it becomes evident as to how much of the grain of the wood has been brought out by the blasting process. We inspect the sign to look for areas that can be blasted deeper. The thickness of the cedar blank and whether we are going to blast both sides has a lot to do with how deep we can go. The deeper the blast, however, the more texture can be brought out.
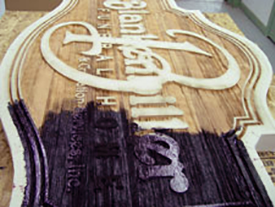
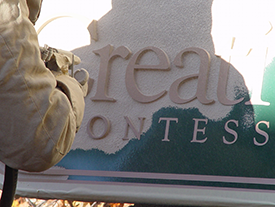
Paint or Stain Blasted Area
Once the blasting process has been completed we now coat the blasted areas with a velvet stain to bring out even more of the woods natural texture. The staining of the blasted area is optional but is typically done to enhance the appearance of the sign and to extend the life of the sign.
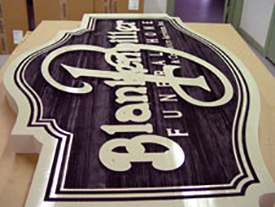
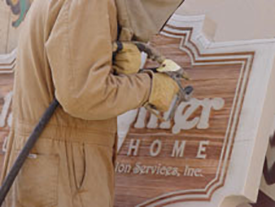
Stencil Removed
After the sign is stained we carefully remove the sandblast mask and prepare the sign for the next steps which may include adding additional colors through hand painting or the application of vinyl.
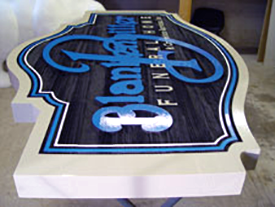
Finishing Details)
As we continue the building process, secondary colors are added to the sign. In this case the blue was painted with enamel and was specifically chosen to coordinate with the colors of the building where the sign was going to be located.
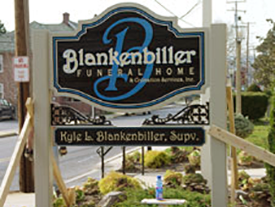
Install
Gold Leafing is applied to the name on this sign to further highlight the sign. This sign also had an additional rider panel below the main panel that was sandblasted as well. Temporary wooden boards were used to support the posts while the cement that was used to secure the posts in the ground hardened.
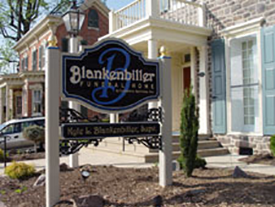
Finished Product
Ornamental iron brackets were designed and custom made to mount the rider to the 6x6 cedar posts. Four brackets were used, more for aesthetics than for stability. Finials with gold leaf applied were added to the top of each post along with a blue post cap. After the cement has cured and all the supporting boards are removed it is easy to see how beautifully the sign fits into the surroundings.
HDU Similar Process
HDU signs are blasted in a very similar fashion as cedar. The primary difference between a cedar blasted sign and an HDU sign is the lack of wood grain in the HDU. However, despite the lack of the wood grain effect, HDU produces a nice look when blasted that is similar to a sandpaper finish. An additional reason that HDU is a popular choice for a sandblasted sign is that it is easier to blast which typically results in lower price.
Detailing Similar Process
As you can see, the HDU produces a nice deep blast with great definition to the design. Finish work is done the same way as with the cedar sign. The lure of the sandblasted sign comes from the beauty of the natural grain of the cedar and from the depth and detail of a blasted HDU sign. Combined with SignGold, quality enamels and stains, and high performance vinyl graphics the sandblasted sign has a look of luxury.